SpinupWP is designed to make it easier to host WordPress sites yourself. It’s different from other website control panels in a couple of ways. First, it’s a cloud-based control panel, meaning that you don’t need to install it on your server. The control panel is entirely hosted on cloud infrastructure. You simply connect your server to SpinupWP and you’re good to go. Second, SpinupWP is focused on WordPress. The company behind SpinupWP, Delicious Brains Inc, has been building popular WordPress plugins for years, such as WP Migrate DB Pro. They’re using all of the knowledge they’ve gained over years of WordPress development to make SpinupWP the best hosting control panel for WordPress.
I (Gilbert Pellegrom) am one of the lead developers on SpinupWP. In this article, we’re going to look at how to set up and host a Frontity site using SpinupWP.
Architecture
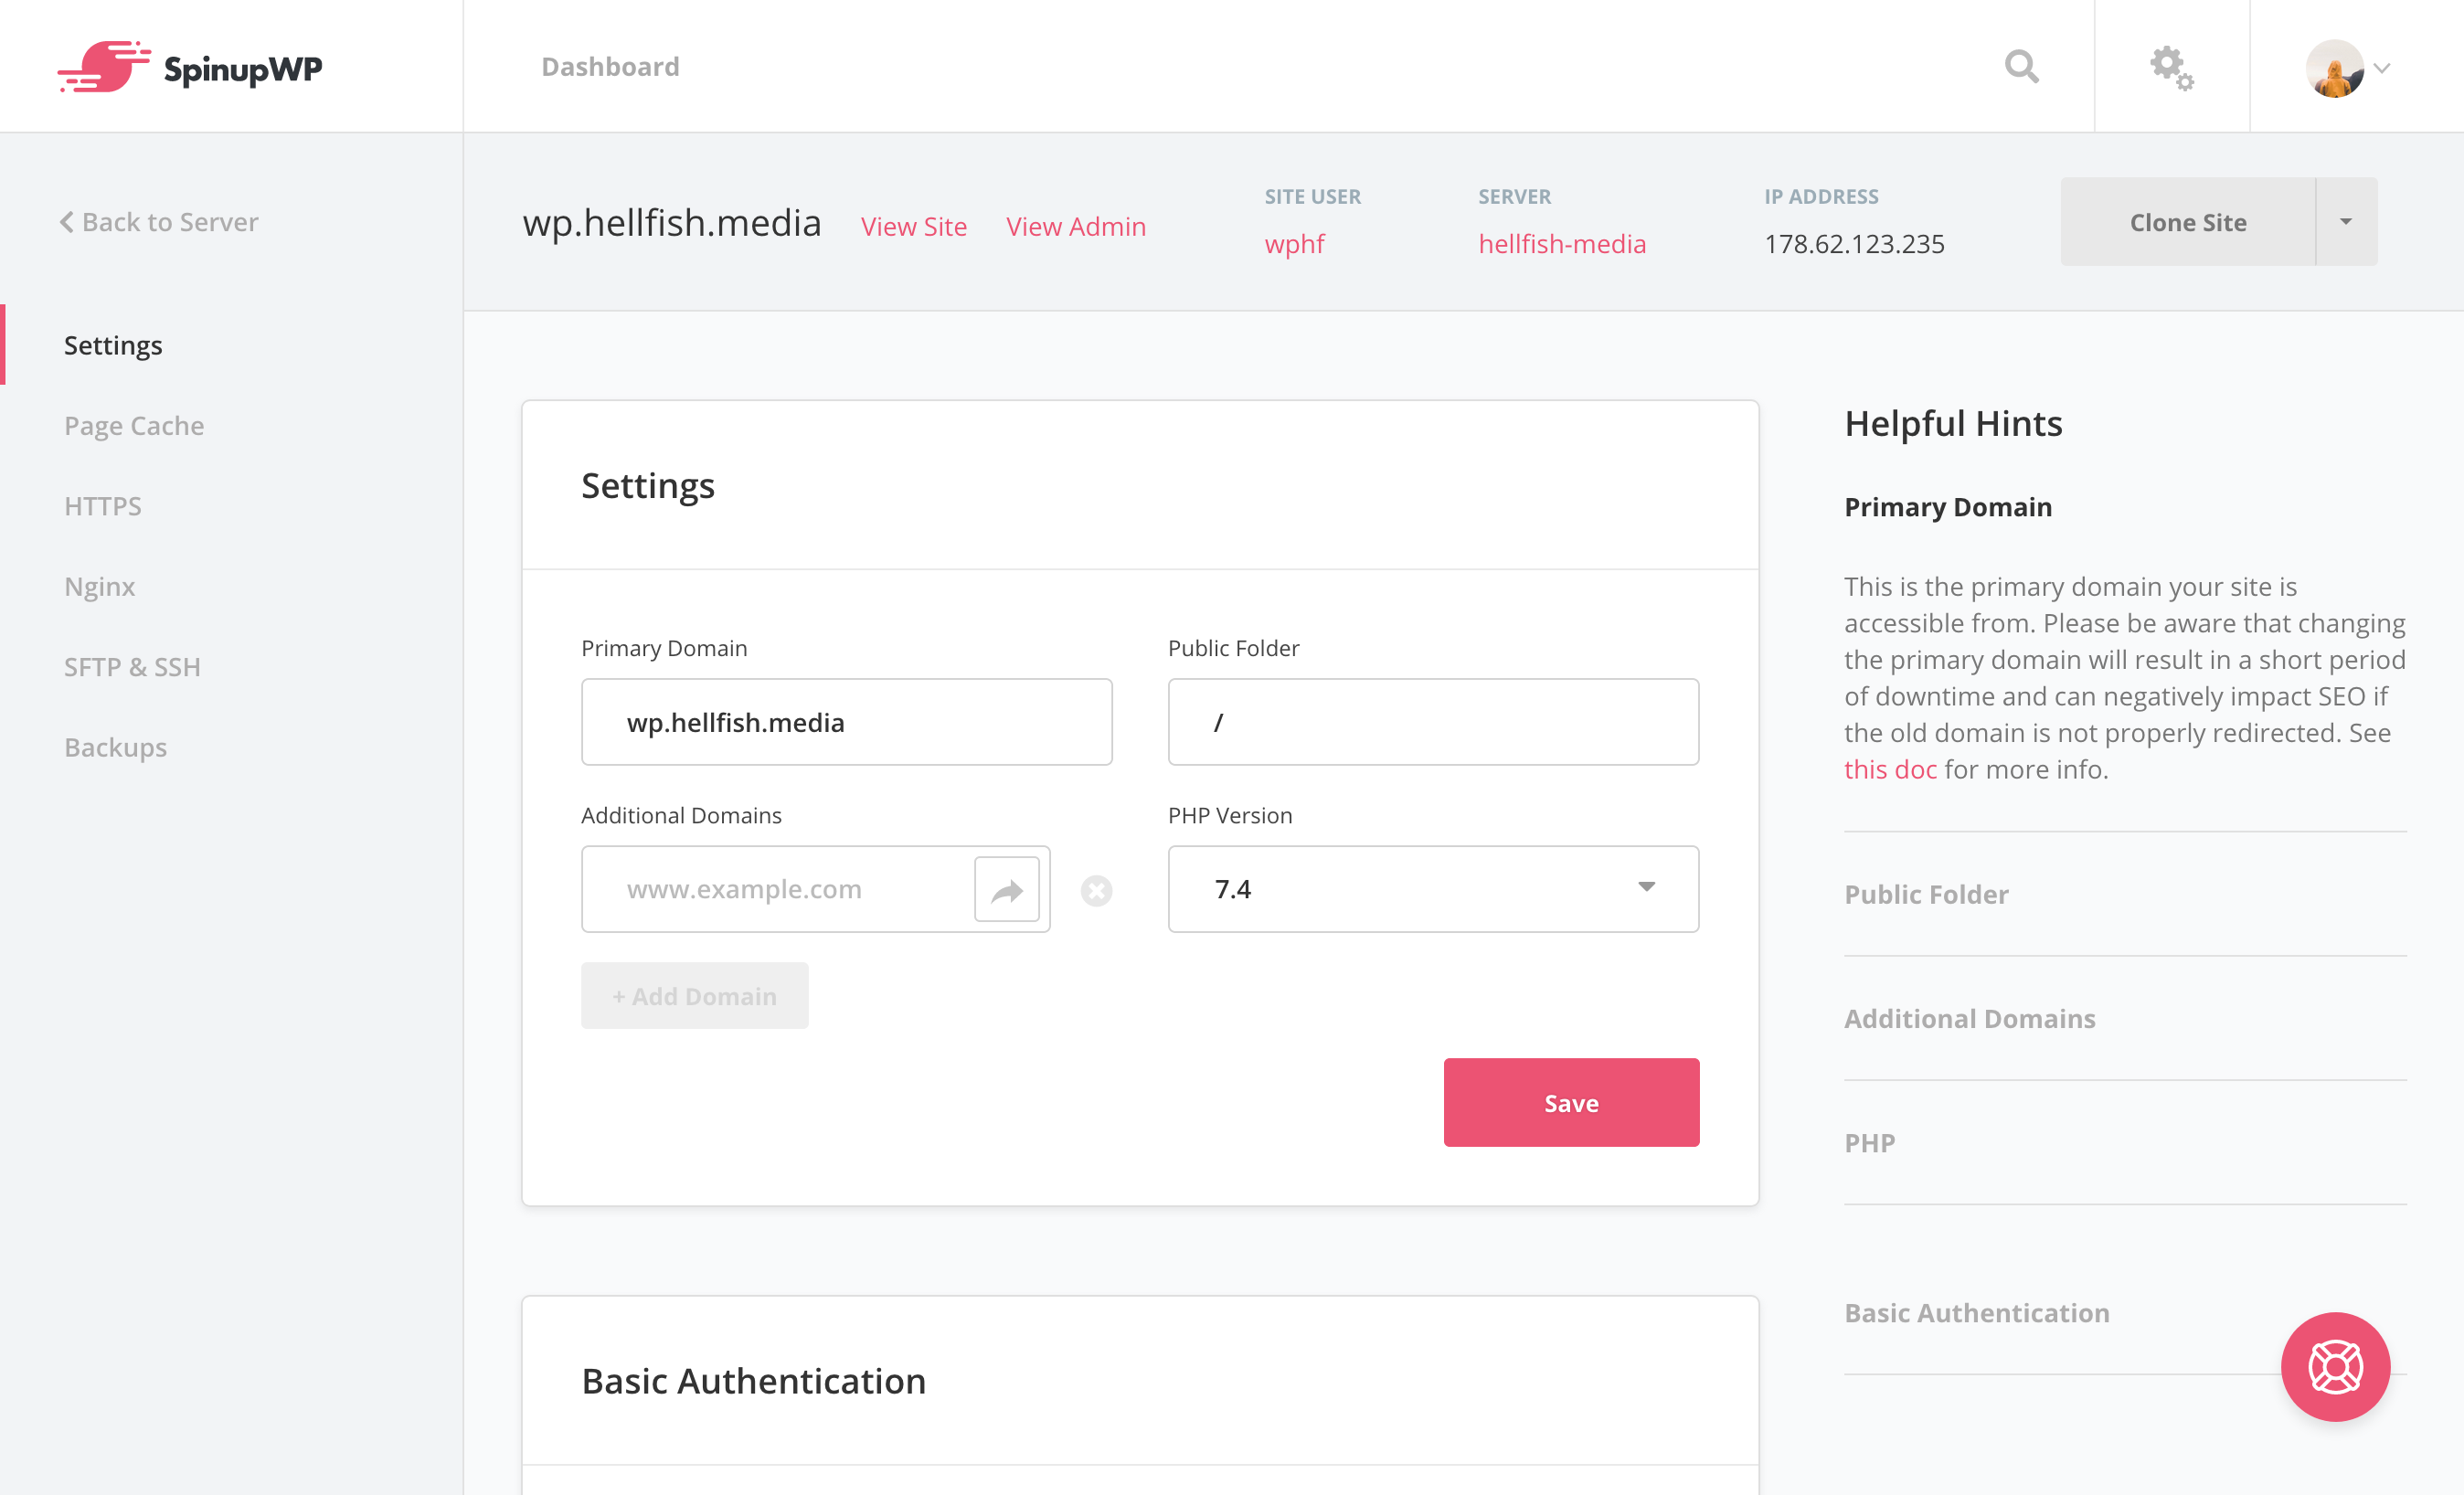
The plan is to have our Frontity site set up as two sites on one SpinupWP server. For the purpose of this article, I’m going to use the domain "hellfish.media" as an example domain:
- wp.hellfish.media – Our headless WordPress install
- hellfish.media – Our Frontity site being served by Node
If you’re following along, replace hellfish.media with your own domain. As part of the process, we’re going to need to set up and install Node to run a Node server for the Frontity site and we’re also going to store our Frontity site in GitHub so we can set up automated deployments from SpinupWP.
Set Up WordPress
If you haven’t done so already, sign up for a SpinupWP account. It only takes two minutes to get set up with SpinupWP.
Once you are logged in, follow the SpinupWP Getting Started Guide to spin up a new server and create a WordPress site. As part of this process, you’ll need to choose a cloud server provider. If you already host websites using a VPS you can use your current hosting provider. If you don’t have one, we recommend DigitalOcean as SpinupWP has direct integration with them.
Once the server has been provisioned you can set up a WordPress site. For this article we’ll just be using a dummy site (wp.hellfish.media) but if you want to migrate an existing WordPress site see the SpinupWP Migration Guide.
As this site is going to be in headless mode (i.e we don’t want people to actually be able to see the front-end of this site) let’s install the Password Protected WordPress plugin. This plugin allows us to configure WordPress to be accessible by admins and logged in users, as well as allowing access to the WordPress REST API, while showing all other visitors a password page.

Go ahead and navigate to the Password Protected settings page and enable the settings as per the above screenshot.
Set Up Frontity Locally
Next, we’re going to use the Frontity Quick Start Guide to get Frontity set up locally. Open up a terminal and create a new Frontity site on your computer:
npx frontity create hellfish
When prompted, choose the mars-theme. Once installed, run the development server to check it works. You should see the Frontity demo content load in the browser:
npx frontity dev
Now let’s connect our Frontity site to our WordPress site. Open up frontity.settings.js and replace the test.frontity.io domain with your WordPress site domain:
{
    name: "@frontity/wp-source",
    state: {
        source: {
            api: "https://wp.hellfish.media/wp-json",
        },
    },
},
If you refresh the site in your browser you should now see the content from our WordPress site. You can also update the menu links in this settings file while you’re there.

Adding Frontity to Git
To make deployment as simple as possible we’re going to set up our main Frontity site as a Git site in SpinupWP. This will allow us to enable push-to-deploy to trigger automatic deployments and it will allow us to set up a deployment script in SpinupWP that we’ll use to build a fresh version of our Frontity site on every push.
Before we set up the site in SpinupWP, let’s add our existing Frontity site to Git. I’m going to use GitHub to host our repository but SpinupWP also supports Gitlab and BitBucket out of the box.
First, create a .gitignore file in the Frontity root to make sure we ignore the build and node_modules directories:
/build
/node_modules
Next, create an empty repo in GitHub. Then, back in the Frontity root, run the following commands to add your site to git:
git init
git add .
git commit -am "Initial commit"
git branch -M main
git remote add origin {GIT_REPO_URL}
git push -u origin main
Replace {GIT_REPO_URL} with the URL to your GitHub repository.
Create Frontity Site
Next, let’s create our production Frontity site. Back in SpinupWP, create a new site on the same server with our main domain (hellfish.media). On the Installation step, select "Clone a Git Repository" and enter the details from the GitHub repository we just created. Leave the Deployment Script blank for now but make sure Enable push to deploy is checked. On the Database step select No Database and leave all of the other settings as default.

When you click "Add Site" you might be prompted to verify your Git connection. Check out the SpinupWP doc Adding an SSH Key to a Git Provider for more instructions on how to do this. While you’re there, it probably also makes sense to configure push to deploy for your Git provider.
Installing Node
Before going any further, we’re going to need to install Node on our SpinupWP server. SpinupWP is optimized for PHP and WordPress installs, so it doesn’t install Node by default. To install Node, we’re going to need to SSH to our SpinupWP server to run some commands.
In your server settings in SpinupWP navigate to the Sudo Users page and create a sudo user. Pay attention to the Helpful Hints in the sidebar if you’re having trouble here.

Then, open up a terminal and SSH to your server using the following command:
ssh {SUDOUSER_USERNAME}@{SERVER_IP}
Replace {SUDOUSER_USERNAME} and {SERVER_IP} with the appropriate values. Once on our server, we’re going to install Node using a PPA maintained by NodeSource (as the official Ubuntu package is usually pretty outdated). Download the script to install the Node PPA:
curl -sL https://deb.nodesource.com/setup_14.x -o nodesource_setup.sh
We’re going to install Node v14 (refer to the NodeSource docs if you want to install a different version of Node). Next, run the script:
sudo bash nodesource_setup.sh
Once the script has been run to add the PPA, we can now install Node using apt:
sudo apt install nodejs
You can confirm Node has been installed properly by running:
node -v
Building Frontity
Now that Node is installed, we should be able to build our Frontity site. Head back to our site in SpinupWP (hellfish.media) and enter the following commands in the Deployment Script on the Git page:
npm install
npm run build

Save the Git settings then click "Deploy Now" to deploy the site. This will pull the latest changes from our GitHub repo and run the deployment script. The site should now be built in the files/build directory.
Before we serve our Frontity site, there are a couple of final things we need to set up on our SpinupWP server.
Setting Up Nginx
To actually see our Frontity site at our domain (hellfish.media) we need to tell Nginx to act as a reverse proxy and forward traffic to our Node server. To do this, we need to edit the Nginx file for our Frontity site. It will be located at /etc/nginx/sites-available/{DOMAIN}/{DOMAIN}. Back in your terminal, run:
sudo nano /etc/nginx/sites-available/hellfish.media/hellfish.media
Find the main location / block which should look something like this:
location / {
    try_files $uri $uri/ /index.php?$args;
}
Replace it with the following:
location / {
    proxy_pass http://localhost:3000;
    proxy_http_version 1.1;
    proxy_set_header Upgrade $http_upgrade;
    proxy_set_header Connection 'upgrade';
    proxy_set_header Host $host;
    proxy_cache_bypass $http_upgrade;
}
This config tells Nginx to proxy all requests to http://localhost on port 3000. This is the default address Frontity uses to serve your site. To verify there are no issues with the updated config run:
sudo nginx -t
If everything is ok, reload Nginx:
sudo service nginx reload
Serving Frontity
In the last step, we told Nginx to act as a reverse proxy for our Node server at http://localhost:3000. However, that server isn’t actually running yet. To get it up and running, use the Frontity serve command (the -u hellfish part just means "run as the hellfish site user"):
sudo -u hellfish npm run serve
If you load your site (e.g. https://hellfish.media) you should now see your Frontity site 🎉 However, this command does not run a dameon process which means that as soon as you stop the command, the server will stop (and your site will be broken). To fix this, we need to install a process manager to run our Node server. We’re going to use a popular package called PM2.
Install PM2 by running:
sudo npm install pm2 -g
Next, cd to the site directory and then we can run our server using the pm2 start command:
cd /sites/hellfish.media/files
sudo pm2 start /sites/hellfish.media/files/node_modules/.bin/frontity --watch -- serve
A couple of things to note here:
- We’re running this as
sudoso the pm2 process is run as the root user and not our sudo user. - We’re passing the full path to the
frontitycommand which lives in thenode_modules/.bindirectory. - Anything after
--will get passed to the frontity command. In this case, we want to runserve. - We use the pm2
--watchflag to make sure the process will restart when we deploy code changes.
Finally, let’s make sure the pm2 process will restart when our server is rebooted. Run the following command to generate a startup script:
sudo env PATH=$PATH:/usr/bin pm2 startup systemd -u root --hp /root
sudo pm2 save
To test this works, you can reboot your server by running sudo reboot. If you need to debug any issues, the sudo pm2 monit command is useful.
Our Node server should now be up and running as a dameon process that will start automatically when the server boots.
That’s It!
You should now have a Frontity site up and running on a SpinupWP server auto-deploying code changes from GitHub! I found Frontity can take a bit of time to restart after pushing code changes so be aware that your site might go down temporarily during a deployment. To mitigate this downtime, it might be worth looking into atomic deployments.
- Post TagsDevelopment, Frontity, Guides, SpinupWP